You will be assigned a member number and invited to attend an induction to help you familiarise yourself with the Club.
Purchase a bag of clay from our Clay Store. It’s best to start off with the same clay you used in class as you’re already familiar with it. We have all the basic tools available to start with, but you can start building your own toolbox by purchasing tools and equipment from various pottery suppliers listed in “LINKS”.
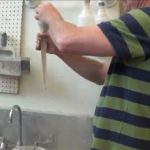
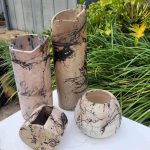
Start making stuff! If you need to be reminded on “how to” just ask an experienced member near you. Everyone here at the club is friendly and would be happy to assist. Don’t be shy. We were all beginners once so we understand how overwhelming and “daunting” it is when you don’t have a tutor to guide you.
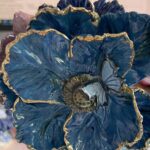
Watch Youtube or Instagram videos on pottery making and discover different making and decorating techniques. See our useful links below.
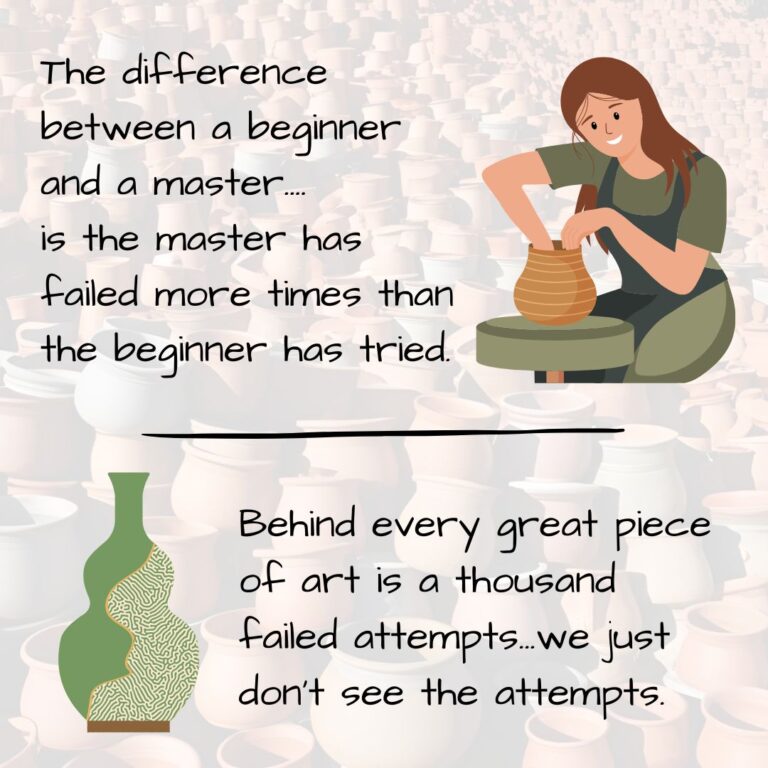
Always remember…practice, practice and practice. The more you do it the better you become.
Useful links
There are A LOT of online resources across the web and social media such as Facebook and social media. So much it can be overwhelming so we have curated some useful resources to help you.
The list below includes introductory YouTube videos and links. You can also explore pottery groups on Facebook, Pinterest and Instagram from beginners to advanced, for handbuilding and wheelthrowing, on glazemaking, commercial glaze brands and glaze combinations, underglazes, wild clay, and more! Happy surfing!
Getting started
Basics
Decorative techniques
Cool underglaze techniques
Five common glaze issues
Make a damp box
Top glazing tips and tricks
Pulling handles
Raku
Lustre
Layering glazes
It's getting hot in here!
When you’re new to pottery we can understand there’s so much to take in, and you generally only get to learn the basics in class. So we’re here to help…
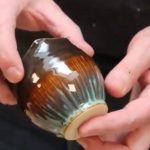
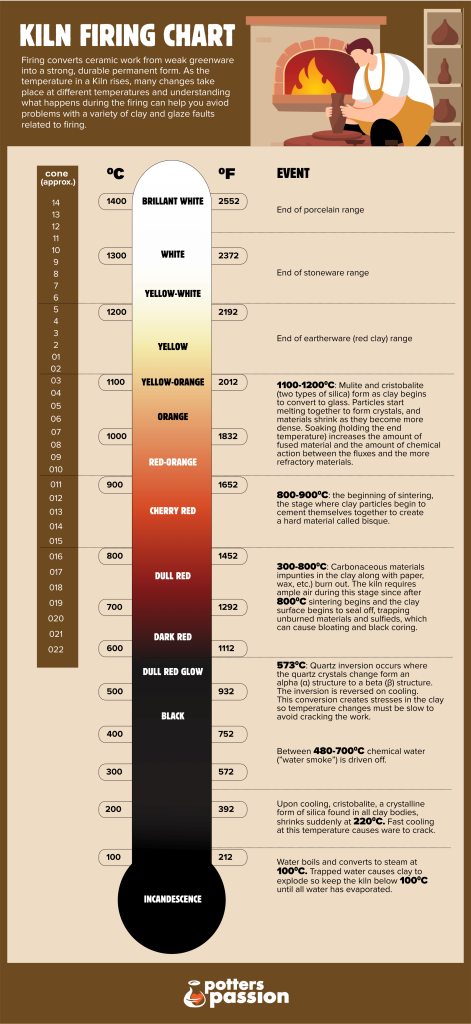
Learning about firing temperatures for your clay pieces and which temperatures go with which glazes can be confusing.
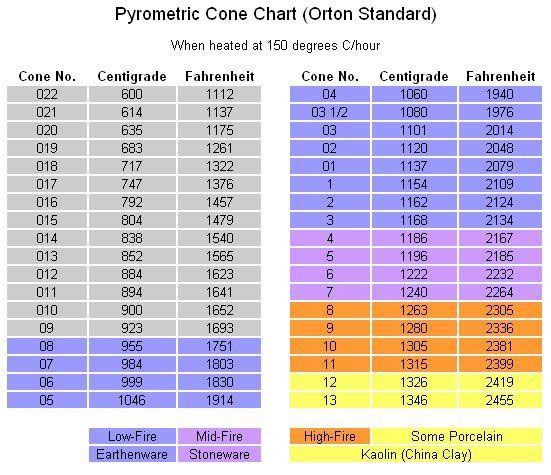
You may have seen the word “Cone“. This term applies to Pyrometric cones used to measure heatwork in a kiln firing.
But mostly, you may have also seen the word “Cone” on Glaze labels…this would refer to the temperature the glaze fires to/or can go to.
It’s important to fire to the suggested temperature range/cone number, as this will give you the optimum glaze results. If in doubt, ask someone. Most labels state a firing range, but some will say the cone temperature recommended for that glaze… READ THE LABEL!
At RPG we refer to three levels of firing:
High Fire or Stoneware e.g., cone 8 – 11
Mid-fire e.g., cone 4 – 7
Low fire or Earthenware e.g. around cone 05, 06
Also, don’t get confused with Cone 06 and Cone 6…they are different temperatures!
Check out the charts for more info.
Here is another Pyrometric Chart to help you.
Your can find out more about firing temperatures with these helpful links:
If you want to start learning at home, or you have started classes and want to learn more there is A LOT of pottery information on You Tube, Pinterest, Facebook and Instagram. There are a lot of links here to support people at different levels of ability and interest – from beginners to advanced potters. Find the best ones that suit you and explore new options for yourself. Look for online groups e.g., Facebook or Pinterest which centre around your interests. We will keep adding periodically. Happy Pottering!